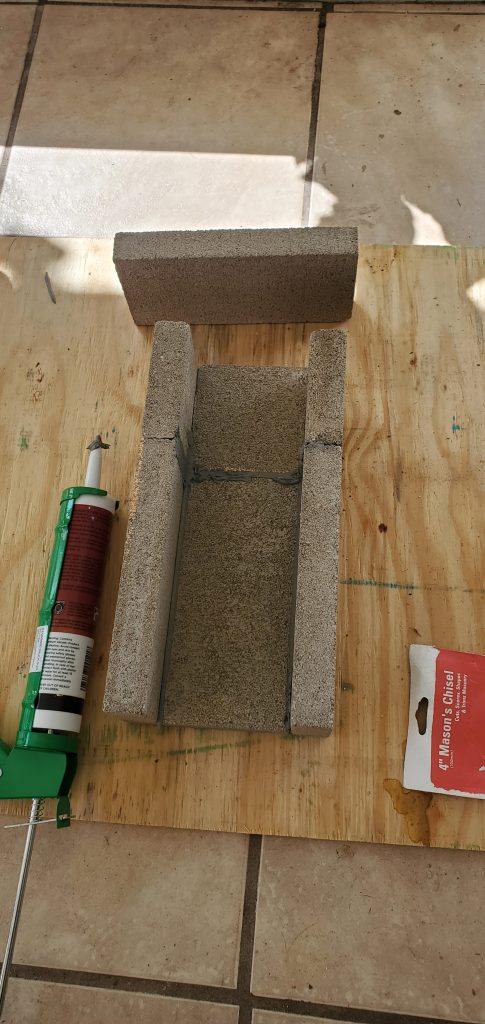
This is the rocket stove build, part 1. We started with a firebrick base and my *incredible* masonry skills.
- Here are some things that I really need to practice:
- Cutting blocks
- These were cut with a chisel, so I only did the bare minimum and broke many blocks in the process.
- Application of mortar and keeping things level
- Taking my time to make sure things are square.
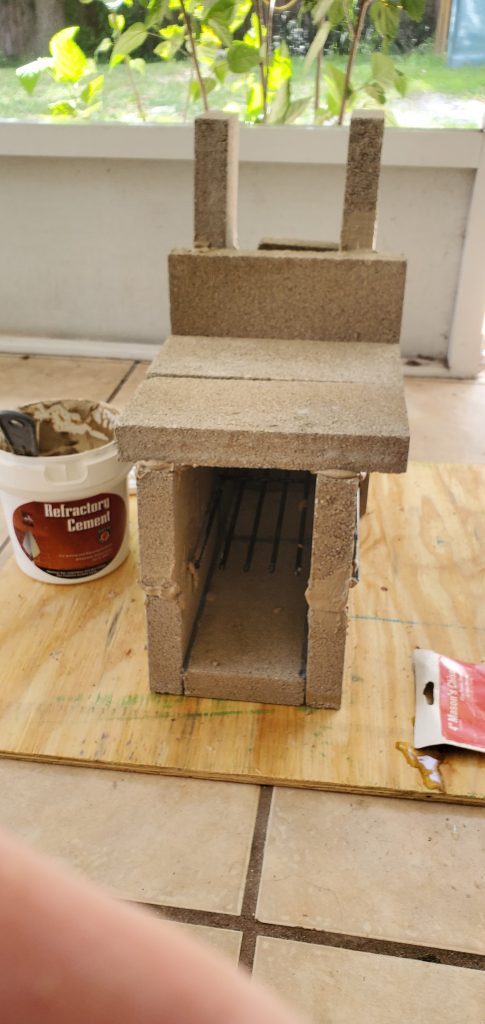
- It took my all of about 2 hours to assemble. I was more excited to build it quickly than to build it well.
- Cutting blocks
- Upgrades to this stove:
- Add an ash tray for easy extraction after cooking
- Add decorative bricks on the outside to make the appearance more fashionable
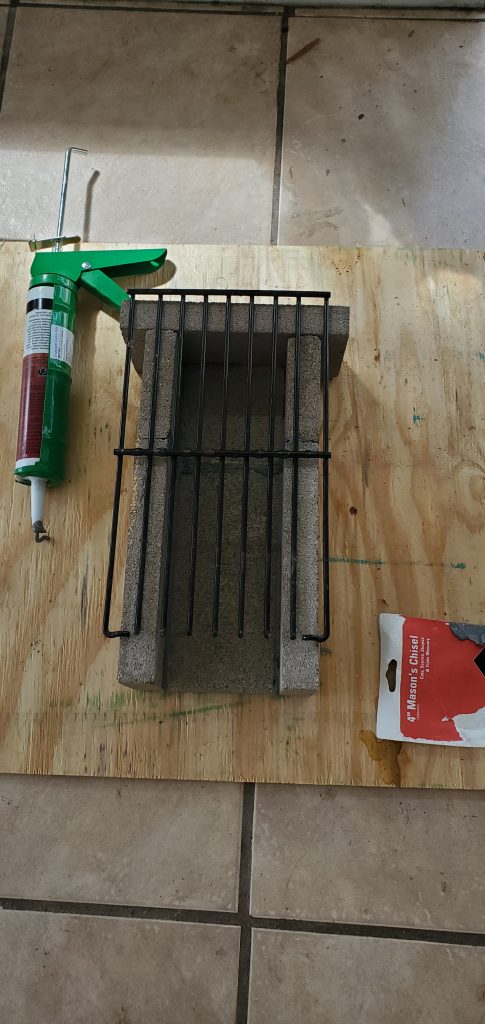
- Add a grill for cooking access
- I have one that I can use temporarily from my barbecue grill
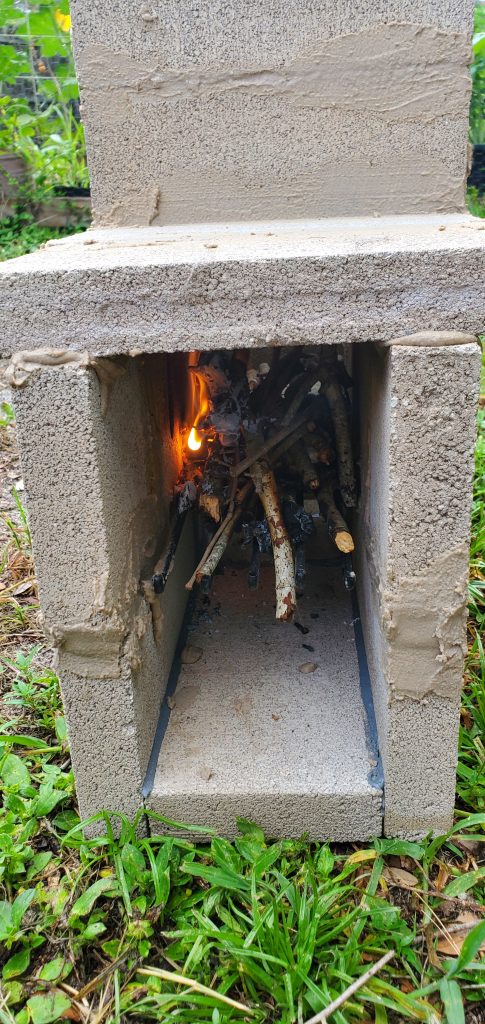
- Notes about the first test:
- This stove gets really hot at the top
- This was the reason for the build, a reliable wood fired outdoor cooking surface.
- Great backup if hurricanes hit my area and we can’t power our electric stove for a few days.
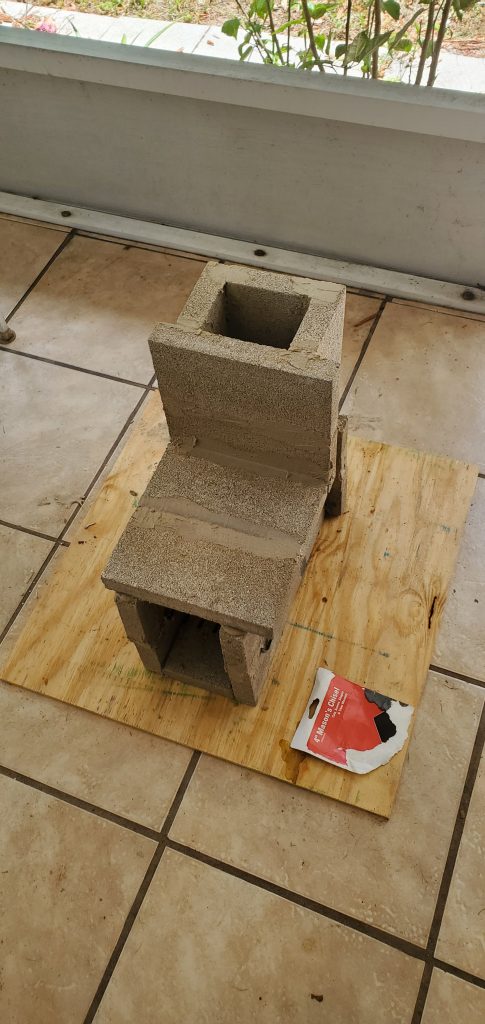
- Using only a few sticks is sufficient for cooking in comparison to a pit fire which requires a massive amount of fuel. I may put a bin on the porch or the garage to collect the random sticks from the yard and have them convenient for use.
- After initial lighting, the smoke is significantly reduced when the rocket stove is running at full power.
- This will be great for marshmallows with the little SNHers without too much fuss.
- Now we have to finish the stove to make it look nice, add a firepit as posted previously and add the pavers to form a seating area in the back yard. As they say, it’s a process, not a race.
- This stove gets really hot at the top